2025/08/07

Type
Learning Resource
Format
Study Guide
Version
Godot 4.x
  • Quick reference
  • Most common shortcuts
  • Step-by-step usage
Code
Assets
All else
Copyright 2016-2025, GDQuest
Created
2025/07/12
Updated
2025/08/07

Setting Up Tilesets: Godot 4 Cheat Sheet

This is your quick reference for the most common tileset operations in Godot 4. Whether you're setting up a new tileset from scratch or adding physics to existing tiles, this cheat sheet has you covered.
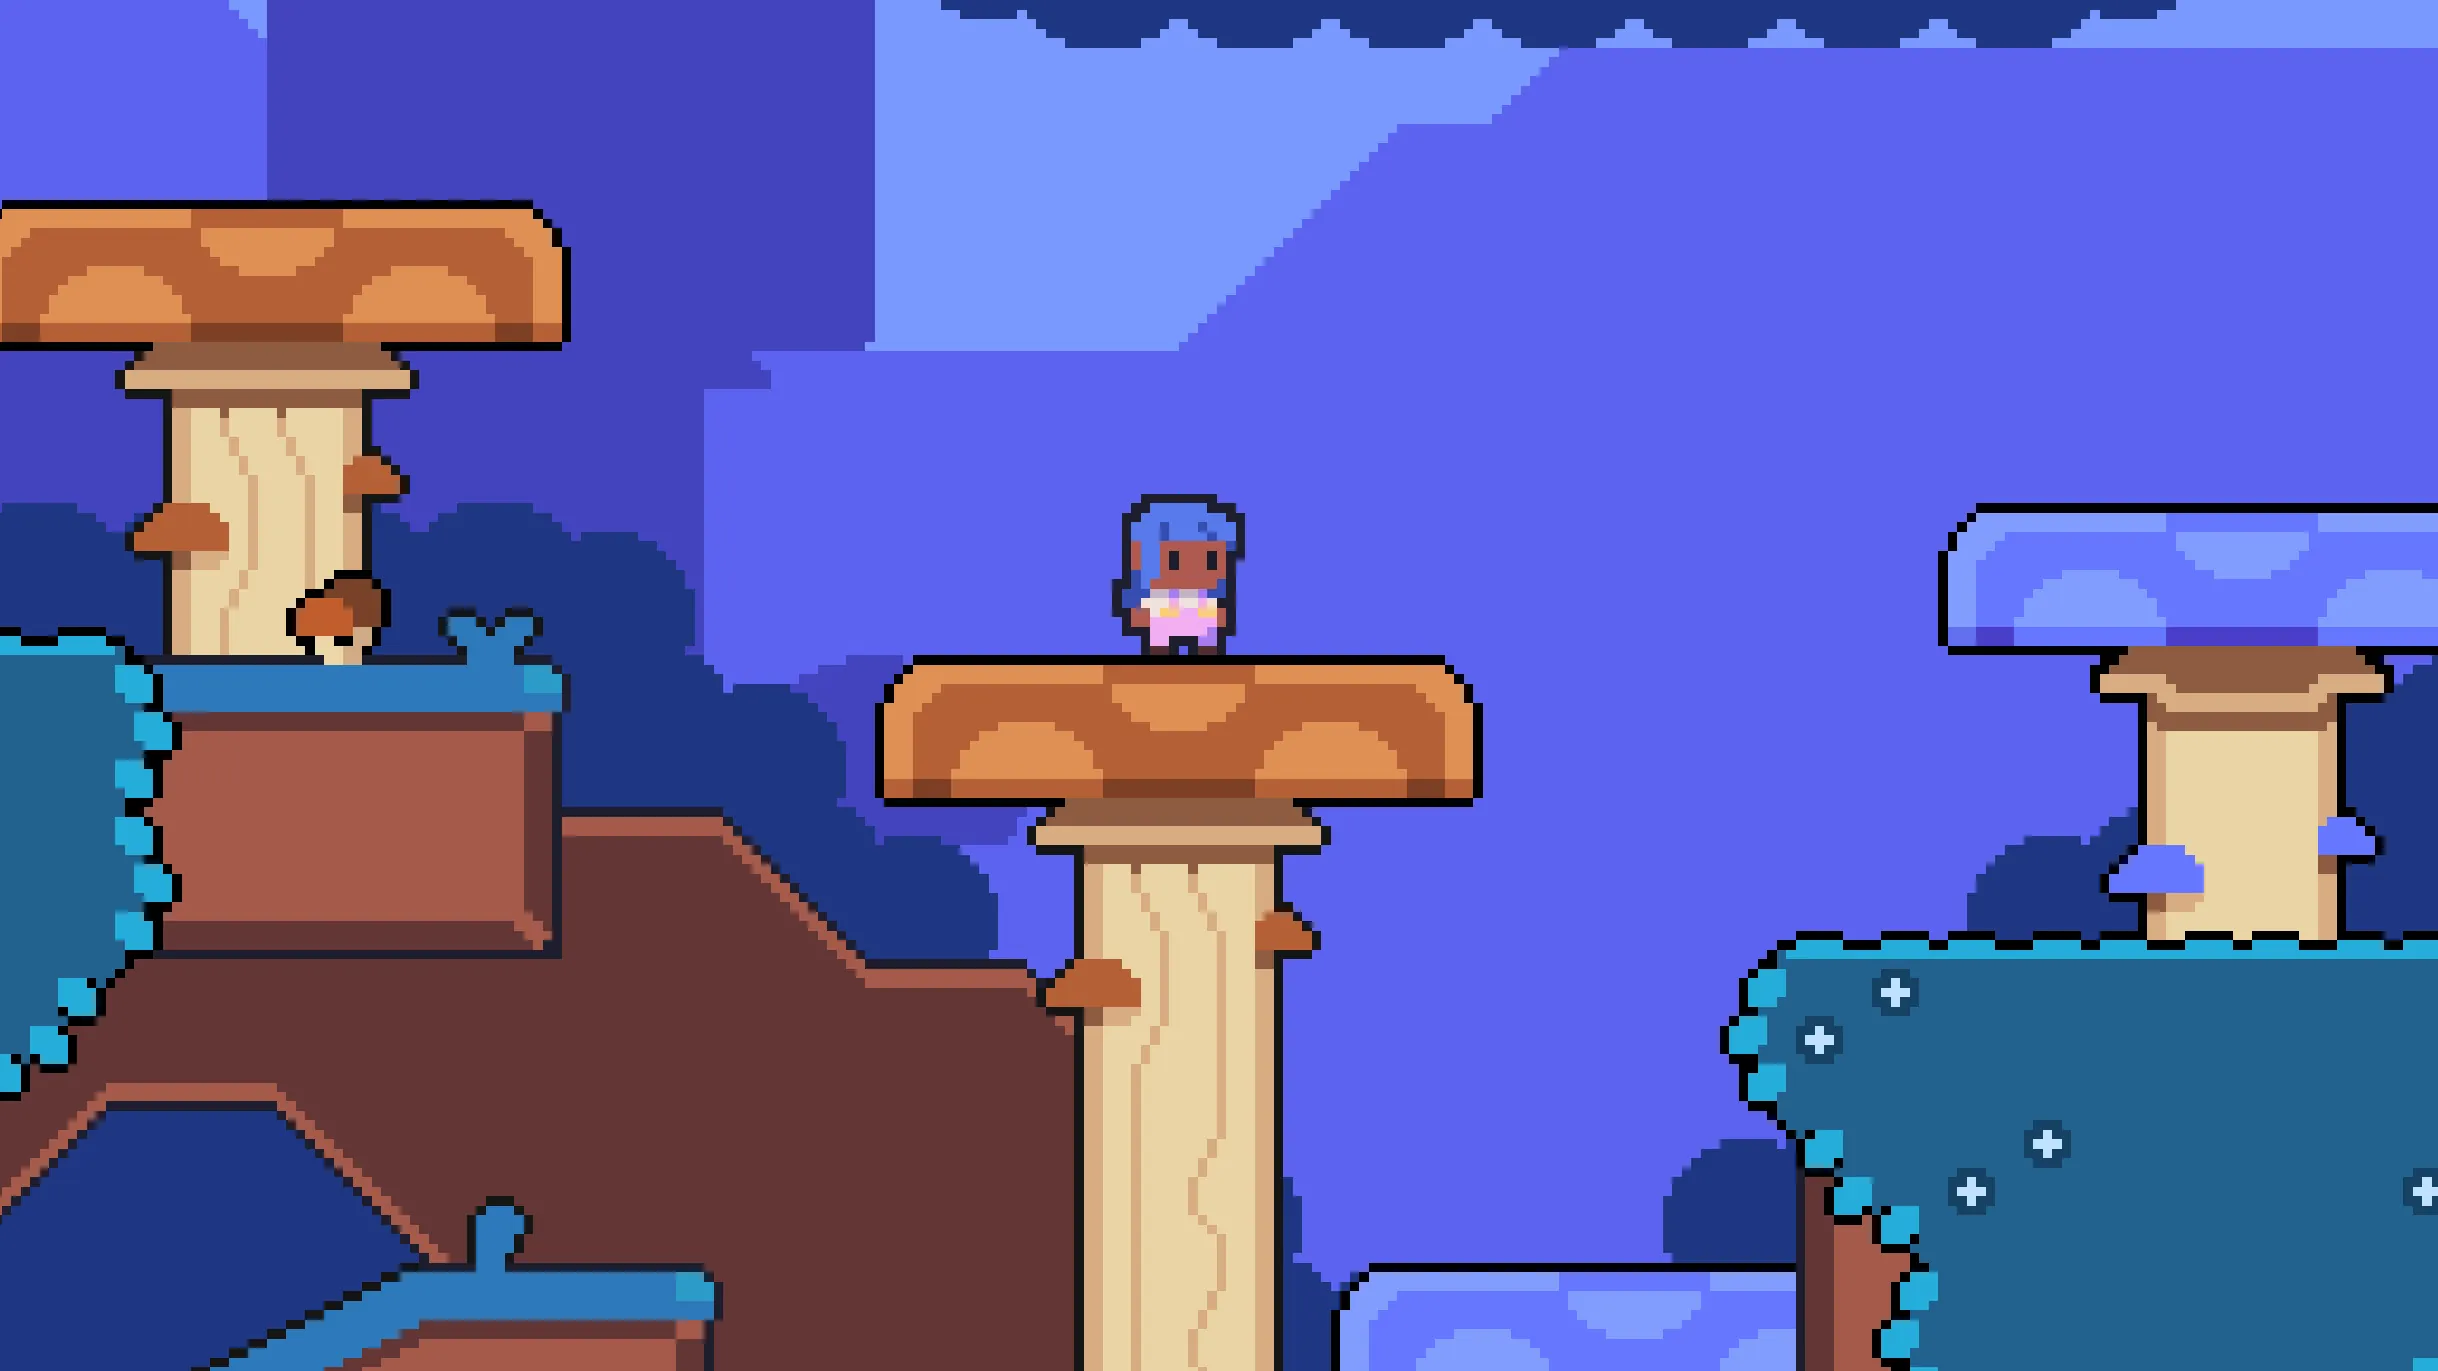
These mushroom platforms are set up with the techniques you'll learn in this cheat sheet
Screenshot of a platformer level in a purple forest filled with ivy and giant mushrooms the character can jump on. The level is made with tilesets and tilemaps in Godot 4.

Think of this as your tileset cookbook - a collection of short step-by-step recipes that you can quickly scan and follow without having to remember every detail.

In this cheat sheet, you'll find the steps to:

What are tilesets and tilemaps?

There are three main concepts to understand when working with tiles in Godot:

  • Tiles: Individual small reusable graphics that can be painted on a grid
  • Tilesets: it's like your painter's palette that holds all the tiles you can use on your canvas
  • Tilemap: The canvas where you paint tiles from your palette

Tilemaps work on a grid where each cell can hold exactly one tile. Tiles can usually be reused many times in the same level much like floor tiles in a house. You can use them to create levels efficiently. In Godot, you use the TileMapLayer node to create tilemaps, and the TileSet resource to define the tiles available to paint with.

Setting up a tileset

First steps: How to create a tilemap layer and tileset

The quickest way to get started with tilesets:

  1. Create a TileMapLayer node in your scene
  2. In the Inspector, click the Tile Set property dropdown
  3. Select New TileSet to create a fresh tileset resource
Importing your tile textures

Tile sources are the image files containing your actual tile graphics. Here's how to add them:

  1. Open the TileSet editor (bottom panel TileSet button)
  2. Drag your tile image from the FileSystem dock into the TileSet editor
  3. When prompted, choose Yes to automatically create tiles for every non-transparent cell in the image

Godot will slice your image into individual tiles based on the tile size. This is the automatic and most common way to create tiles.

NOTE:
This assumes all your tiles have the same size. If your tile source has tiles that span multiple grid cell, you can create tiles manually using the Setup tool.

Fixing spacing issues in tile textures

If your tile source texture has margins, padding, or spacing between tiles, you need to configure it to ensure Godot correctly accounts for the gaps:

  1. Select your tile source on the left panel of the editor
  2. In the Inspector in the middle of the TileSet editor, adjust these properties:
    • Margins: Empty space around the image texture, in pixels
    • Separation: Space between each tile, in pixels
Removing unwanted tiles

If you want to remove tiles from your tile source (for example, if you want to only allow certain tiles in your tilemap):

  1. Click the Setup tool in the TileSet editor toolbar
  2. Turn on the Eraser mode on the right side of the toolbar
  3. Click on tiles you want to remove from the tile source

Alternatively, right-click any tile and choose Delete

Physics setup

Enabling collision detection

Before you can add collision shapes, you need a physics layer. Physics layers determine what can collide with what in the Godot project.

To give your tileset a physics layer and enable collision support:

  1. Select your TileMapLayer node
  2. In the Inspector, expand the Tile Set resource
  3. Expand Physics Layers and click Add Element

Then, configure your physics layers and masks like any other physics body or area in Godot.

What are physics layers and masks already?
  • Collision Layer: What physics layer this tilemap exists on (what others can detect)
  • Collision Mask: What physics layers this tilemap can detect (usually leave empty for platforms)

Here's an example setup we use in the Side-Scroller Levels module of our gamedev curriculum:

  • The player character expects the ground to be on physics layer 2, so I set the Collision Layer of the tileset to 2
  • I don't need the TileMapLayer node itself to detect collisions itself, so I set the Collision Mask to 0 (I cleared all checkboxes)

Collision shapes

Adding collision shapes to tiles

Once you have a physics layer, you can add collision shapes to make tiles solid.

  1. In the TileSet editor, activate the Select Tool (the second tool in the toolbar)
  2. Select the tiles you want to add collision shapes to:
    • Click and drag to select a rectangular area
    • Hold Shift + click to add/remove tiles from selection
  3. In the middle panel, expand PhysicsPhysics Layer 0
  4. Click the three dots menu above the collision shape editor
  5. Choose Reset to default tile shape (or press F)

This creates a rectangular collision shape covering the entire tile. It's perfect for solid ground tiles.

Drawing a custom collision shape

To draw a custom collision shape:

  1. Select a single tile
  2. In Physics Layer 0, use the collision editor tools to draw custom polygons
    • Select one of the Grid Snap options to snap points to the nearest pixel or to grid steps
    • Use the Add polygon tool to add points
Removing collision shapes

To remove collision shapes from tiles:

  1. Select the tiles from which you want to remove collision shapes with the Select Tool
  2. In the middle Inspector panel, expand Physics Layer 0 (or the specific physics layer you want to edit)
  3. Click the three dots menu above the collision shape editor
  4. Choose Clear (or press C)
One-way collisions (for platformers)

For platforms players can jump through from below and stand on:

  1. Select the tiles you want to make one-way platforms
  2. In Physics Layer 0, expand Polygon 0
  3. Enable One Way Collision

Tips and troubleshooting

Expanding the editor workspace

When working with complex tilesets, you need more screen space:

  1. Optional: Enable Distraction Free Mode in the toolbar above the game viewport. This hides docks to give you more horizontal space.
  2. Click the Bottom Panel button at the bottom right of the TileSet editor or press Shift+F12 to expand the bottom panel vertically

This gives you much more workspace for the TileSet editor.

Using the property paint tool (alternative to selection)

This is an alternative to selecting tiles and changing their properties with the Select Tool. It's the Paint Tool:

  1. In the TileSet editor, click the Paint Tool button in the toolbar
  2. Set the property value you want to apply in the Inspector (e.g., collision shape, modulate color)
  3. Click or drag across tiles to "paint" that property onto them

This works for any tile property: collision shapes, modulation colors, physics materials, etc.

Player falls through tiles with collision shapes

Check these common issues:

  • Make sure you created a Physics Layer in the TileSet resource
  • Verify the Collision Layer number matches what your player character is set to detect
  • Ensure you actually applied collision shapes to the tiles (look for blue outlines in the tile view)
Auto-tile creation didn't work correctly

This usually happens when:

  • Your image dimensions don't divide evenly by the tile size
  • There's extra spacing or padding in your tile image

Solution: Set the correct tile size first, then manually create tiles using the + button in the tiles panel for the specific coordinates you need. You can also adjust Margins and Separation in the atlas properties, then use Create Tiles in Non-Transparent Texture Regions to regenerate tiles automatically.

Updates / Code patches

Become an Indie Gamedev with GDQuest!

Don't stop here. Step-by-step tutorials are fun but they only take you so far.

Try one of our proven study programs to become an independent Gamedev truly capable of realizing the games you’ve always wanted to make.

Nathan

Founder and teacher at GDQuest
  • Starter Kit
  • Learn Gamedev from Zero
Check out GDSchool

You're welcome in our little community

Get help from peers and pros on GDQuest's Discord server!

20,000 membersJoin Server

Contribute to GDQuest's Free Library

There are multiple ways you can join our effort to create free and open source gamedev resources that are accessible to everyone!